knit owl
materials:
cascade 220 superwash sport (any color – I used Dark Blue 854 lot# 4133), Fresco in baby blue 5304 lot# 0275, Simplicity in Electric Blue 011 lot#02, Encore worsted in gold.
4 size 5 dpns
Size H hook
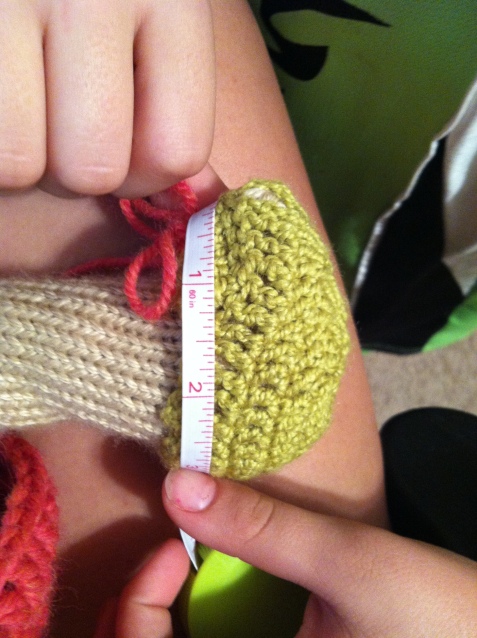
measuring tape
scissors
tapestry yarn for weaving
Begin from bottom up:
-co 9 sts. Join in the round
-k
-kfb in all sts
-k
-kfb in all sts
-k
-k to last 2 sts, kfb in 2 sts
-k
-k to last 2 sts, kfb in 2 sts
-k
-k to last 2 sts, kfb in 2 sts
-k
-k to last 2 sts, kfb in 2 sts
-k until body measures 1 1/2″ from cast-on edge
-On first needle k5 (change to electric blue) k7 (change back to dark blue) , k remaining sts. Next 2 needles, k to end.
-On first needle k1, (change to electric blue), k to last st, (change to dark blue) k1. On remaining 2 needles, k to end of row.
-Repeat last steps until body measures 3″ from cast on edge.
-On first needle k5 in dark blue (change to electric blue) k7, (change to dark blue) k remaining sts. On remaining two needles, k to end of row.
-K (in dark blue) to last 2 sts at the end of first needle. k2tog. Repeat for remaining two needles.
-Repeat until there are 8 sts on each needle.
-Move 4 sts from 2nd needle onto 1st needle and 4sts from second needle onto 3rd needle.

From now on you will be working back and forth on two needles
-kfb in first 2 sts. k to last 2 sts on first needle, kfb in those 2 sts. Repeat for 2nd needle
-k
– Repeat last two steps until there are 20 sts on each needle.
k even until the head measures 2″.
stuff lightly and close with kitchener st.
Ears


with light blue, fold 8″ of yarn over five times.
using a crochet hook, insert hook through the corner of the owl’s head. Grab the yarn in the middle and pull through hole. Pull a large loop big enough to pull ends of yarn through. Pull yarn tight to form a sort of knot. Trim to about 1″.
Eyes
with a size j hook using light blue yarn make a magic circle. Make 12 dc in the mc. break yarn. attach to face.
using any color button you choose- sew the buttons to the center of the eyes.
Beak
with gold yarn and 2 size 5 knitting needles
co 6
k turn
p turn
k2tog, k 2, k2tog turn
p turn
k2tog twice turn
p turn
k2tog
close
attach to front of face.
Wings

The wings are made with the crocodile stitch. I will be adding an instructional video for the crocodile stitch to my youtube channel soon.
with electric blue and size H hook. ch 5. Make a slst in the first st on the foundation ch wich will join your ch into a circle. Ch 3 and work 5 dc into the center of the ring. Ch 1 and work 5 dc into the center again. Move all 10 dc sts as close together as possible, ch 3. Dc into the 2 loops below the ch. thid will turn your work to the side. Ch 1 and dc into center ring. Ch1 work a double crochet into the side of the FIRST dc ch you made in the first “shell” work another dc into the same st. Turn your work around and work 5 dc sts around the edge st. ch1 turn your work so the dc sts you just made are facing away from you. Work 5 dc around the next dc st “bar.” Slst into the top of the middle dc st. Then make 5 dc around the “bar ” of the next dc. Ch1 Spin work and work 5 dc around the last bar. Cut yarn and pull end through the last ch on your hook. attach the wing to the side of the body.
Enjoy!
Crochet bow-tie
Chain 5.
join the chain to the first chain with a slip stitch. (this will form a ring)
Ch 4
Work 5 Triple (AKA Treble) crochet into the center of the ring.
ch 4
slip stitch into the center of the ring
Move all the Triple crochet stitches to one side of the bow.
On the other side of the ring, make 5 Triple crochet into the ring.
Ch 4 and slip stitch into the center of the ring.
Cut about 12 inches of yarn and close the loop.
Wrap your length of yarn neatly around the center of the bow.
Tie neatly in the back so you cannot see it from the front.
Attach the bow to the owl!